How to Keep Your RV Watertight and Protect Its Value
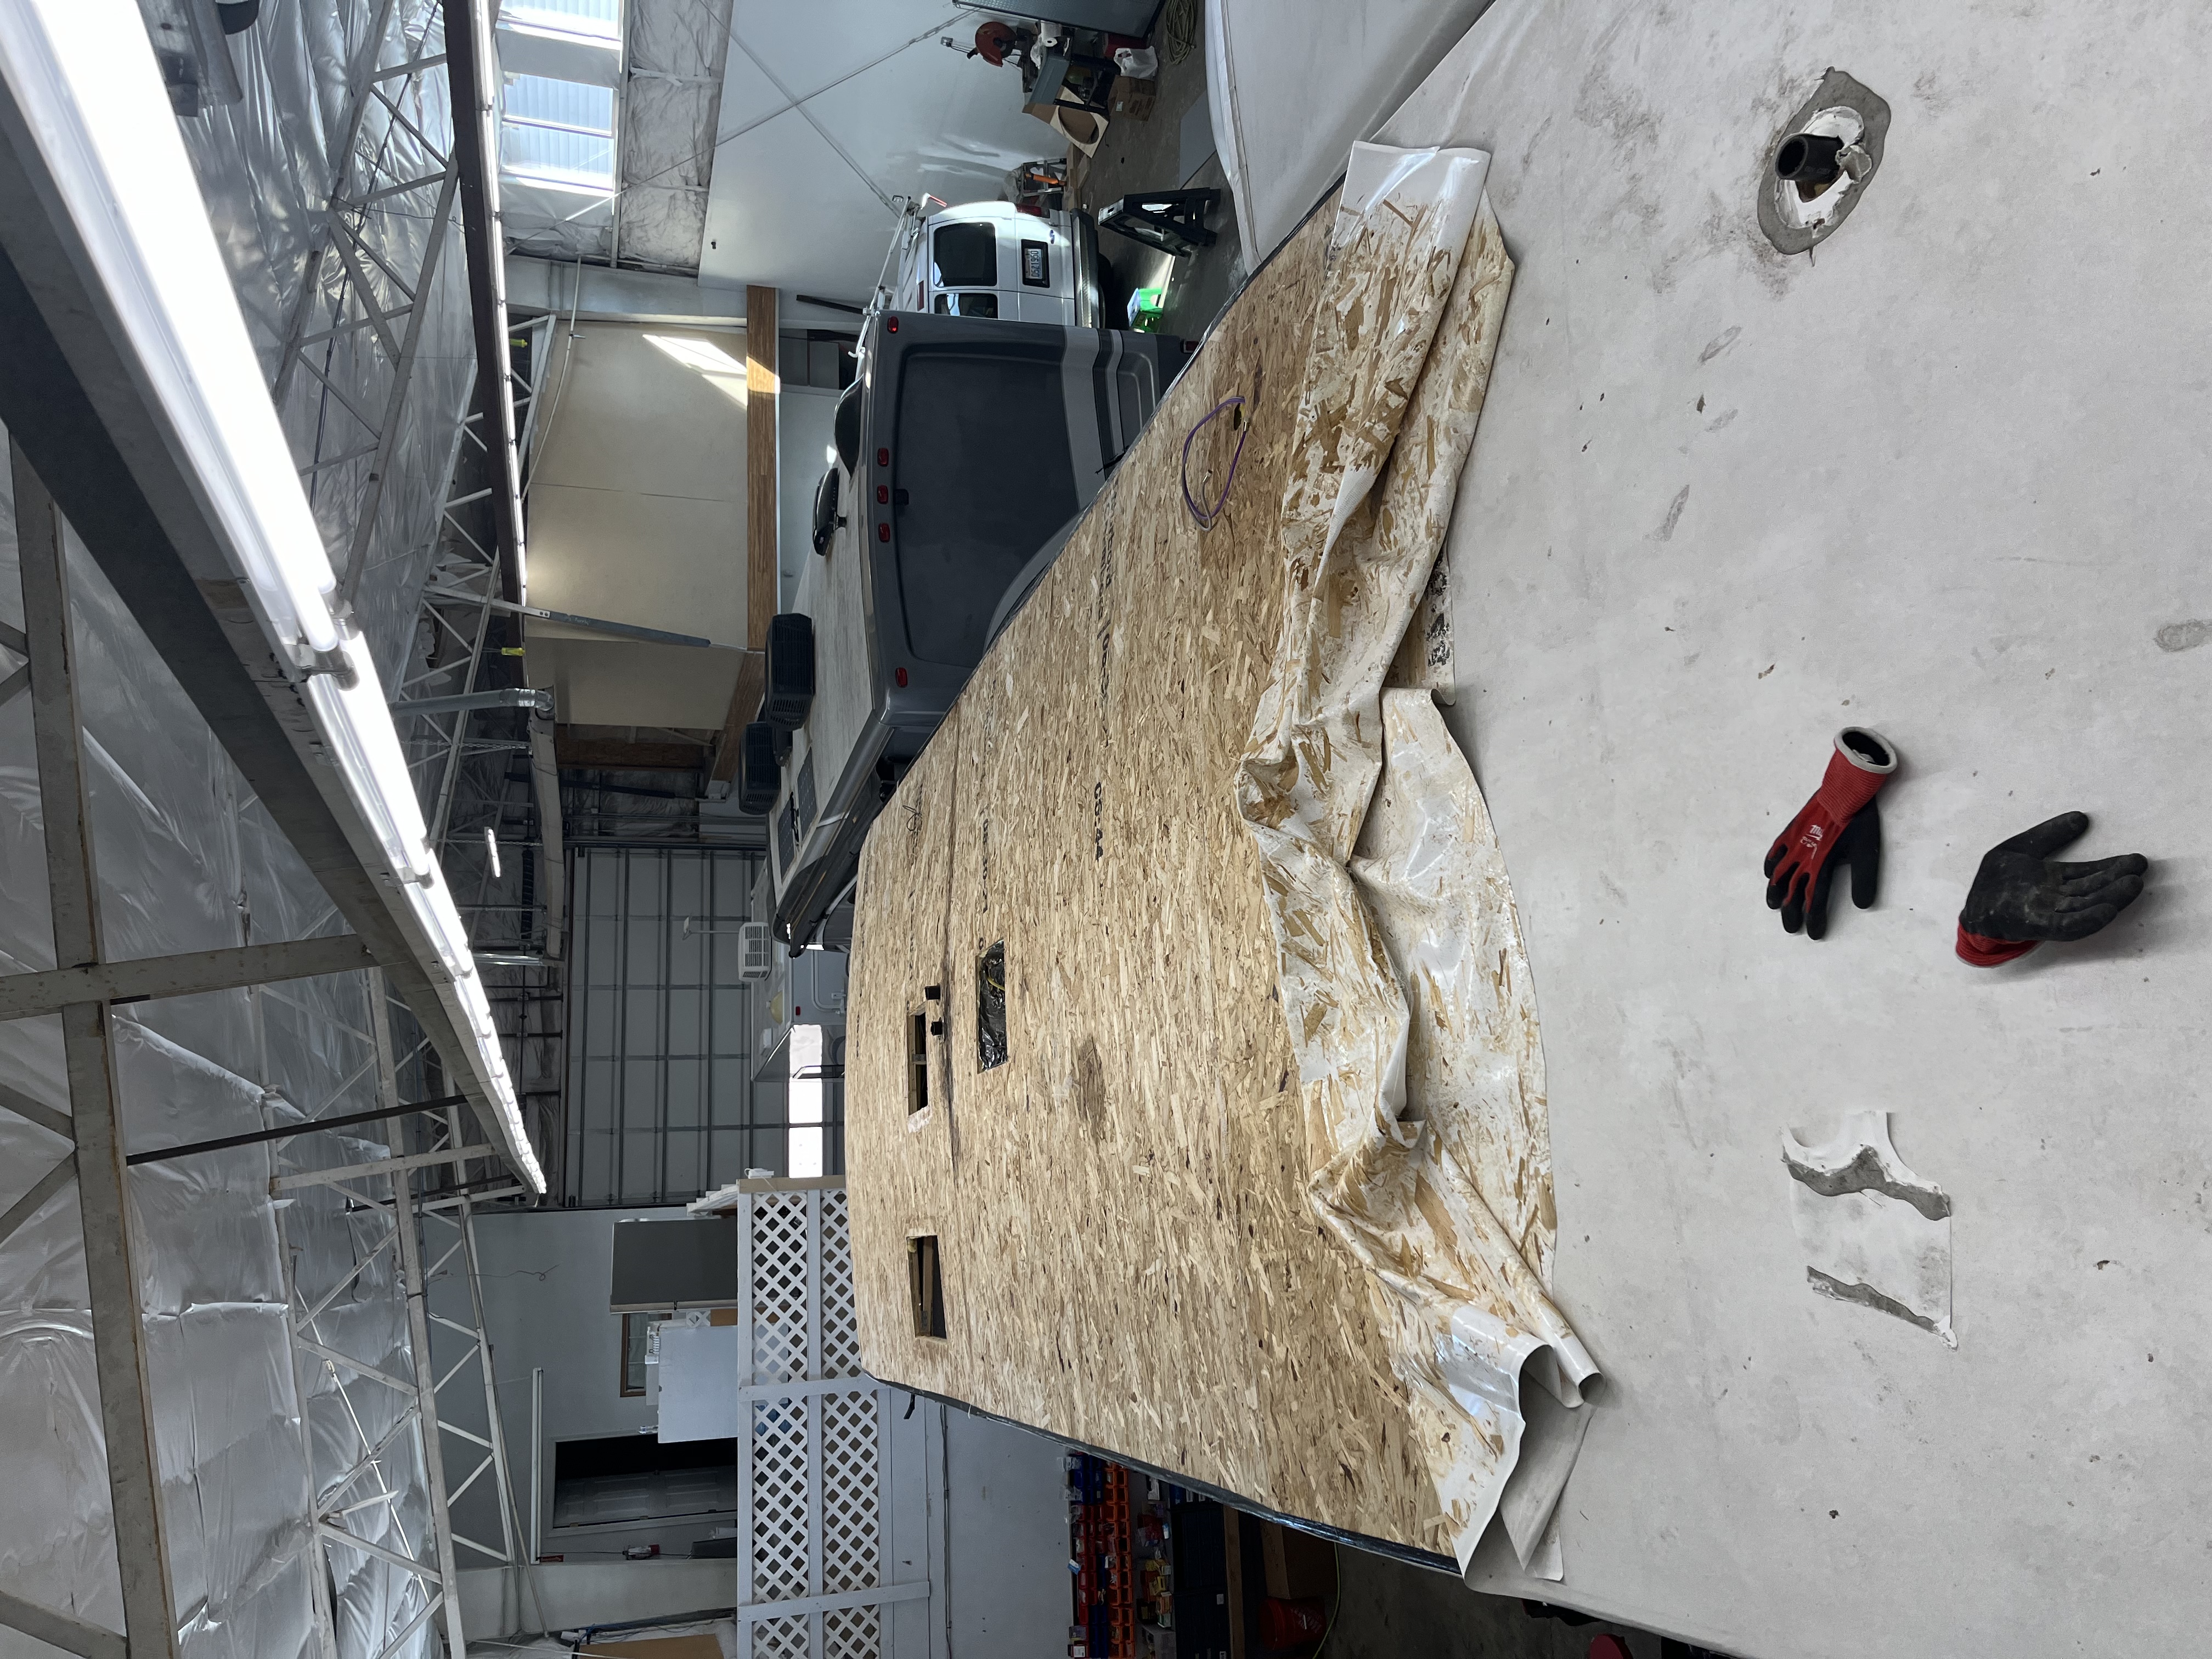
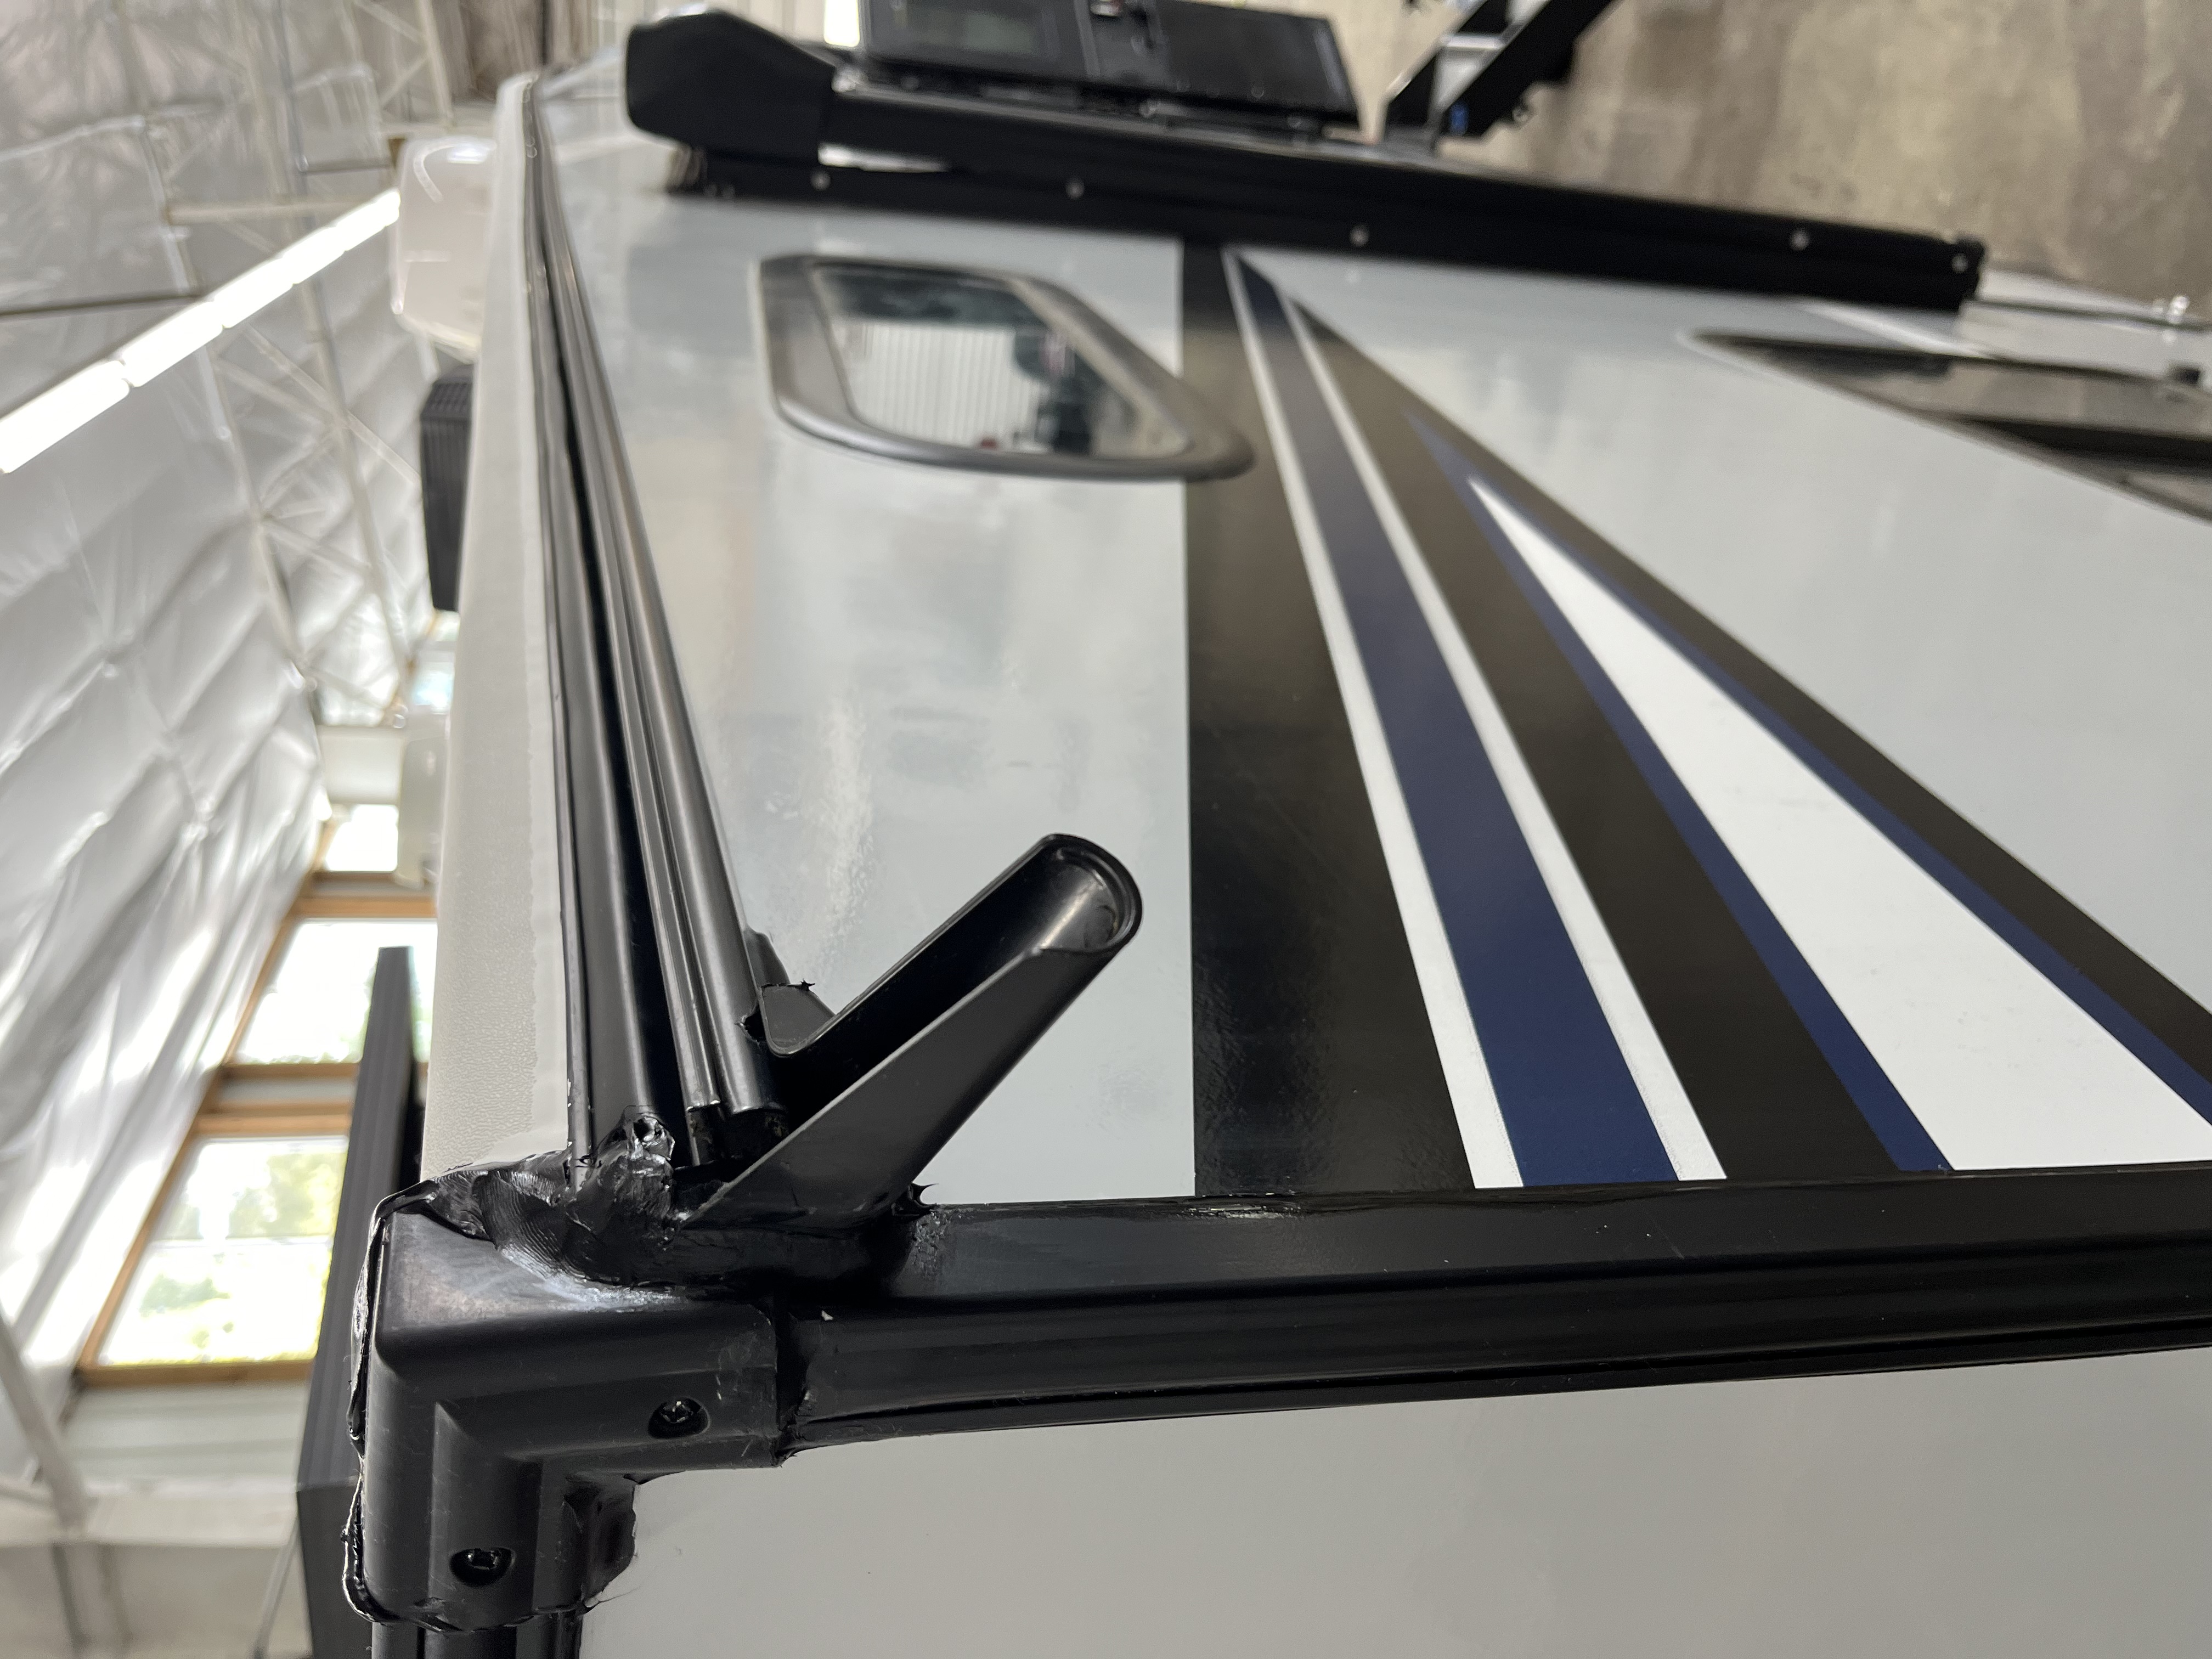
An RV is a big investment, and one of the fastest ways to lose value is also one of the most preventable: water intrusion.
Here in the Pacific Northwest, RVs spend a lot of time exposed to rain, moisture, changing temperatures, pine needles, leaves, and everything else our weather throws at them. A small crack in a roof seal or a little gap around a window may not look like much, but if water gets behind the exterior skin, the damage can spread long before you see a stain inside.
The good news is that keeping your travel trailer or fifth wheel watertight doesn't require rebuilding the roof every few years. It comes down to regular inspections, catching problems early, and using the correct materials when repairs are needed.
1. Inspect the Roof — Don't Just Look for Leaks
Your RV roof should be one of the first places you inspect.
Interestingly, the roofing membrane itself often isn't the area that needs the most attention. It's all the places where something passes through or attaches to that roof: vents, skylights, antennas, air conditioners, plumbing vents, roof edges, front and rear termination points, and other accessories.
Keystone recommends inspecting roof seams, joints, attachments, and sealants at least every 90 days. Alpha Systems also recommends inspecting the roof and lap sealant during routine roof cleaning, which it recommends several times per year.
Look for:
- Cracked or split sealant
- Gaps or voids
- Sealant pulling away from a fixture
- Loose edges
- Punctures or tears in the membrane
- Damage around vents, skylights, antennas, and A/C units
- Areas where old sealant has become brittle or separated
Don't wait until you see water inside. By that point, moisture may already have reached the roof decking, insulation, walls, or flooring.
A good rule for RV owners is to give the roof a thorough inspection about once every three months, especially before and after our wettest seasons. Always follow the maintenance schedule in your specific RV and roof manufacturer's manual.
2. Use the Right Sealant
This is where a lot of well-intentioned DIY repairs go wrong.
Not every tube of caulk is compatible with every RV roof.
RV manufacturers use different combinations of EPDM, TPO, PVC, fiberglass, metal, and other roofing systems. The sealant used around a roof vent may also be different from what should be used on a vertical sidewall seam.
For example, Alpha Systems specifies compatible Alpha products for its roofing membranes and warns against using incompatible products on them. Keystone similarly advises owners to identify the roofing system and use the proper sealant when servicing roof seams.
So before you grab whatever tube is sitting in the garage, find out what roof you have and what product the manufacturer calls for.
Using the wrong material can create adhesion problems and make the next repair considerably more difficult.
3. Check More Than the Roof
A watertight RV needs attention from top to bottom.
At least a couple of times each year, inspect the entire exterior. Jayco recommends inspecting seals around the roof and all four sides of the RV, including moldings, doors, vents, and exterior attachments. Winnebago likewise includes exterior sealants, sidewalls, windows, and the underbelly as regular maintenance items.
Pay particular attention to:
- Windows
- Entry doors
- Exterior storage doors
- Corner and edge moldings
- Clearance and exterior lights
- Outside speakers
- Utility connections
- Water-heater and refrigerator openings
- Awning mounts
- Ladder mounts
- Roof-to-wall seams
- Front and rear cap seams
Tiny gaps matter. An RV flexes as it travels down the road, and sealants are constantly exposed to vibration, temperature changes, sunlight, and weather.
4. Don't Forget Your Slide-Outs
Slide-outs create additional areas where water can enter.
Keep the slide roof free of sticks, leaves, pine needles, and other debris. Debris can interfere with the sweep seals and prevent them from doing their job. Keystone specifically recommends cleaning debris from slide roofs and inspecting the roof membrane, moldings, and seals while you're there.
Also inspect the rubber seals around the room. Look for:
- Tears
- Cracks
- Seals that have folded the wrong direction
- Sections pulling loose
- Gaps when the slide is fully closed
- Debris trapped against the sealing surface
Lippert recommends keeping slide seals clean and watching for unusual wear or areas that have become dislodged. When the RV is being stored and the slide isn't needed, keeping it retracted also reduces exposure of the slide roof and seals to the elements.
5. Keep the Roof Clean
Cleaning isn't just about appearance.
Dirt, leaves, needles, branches, and organic material can hide small defects and hold moisture against the roof. Cleaning also gives you a perfect opportunity to inspect every seam while you're already up there.
Alpha Systems recommends periodic cleaning three to four times per year and inspecting the membrane and lap sealants at the same time. Dicor recommends cleaning its EPDM roofing at least four times annually. Always use cleaners approved for your particular roofing material.
And don't assume every product labeled "RV roof treatment" belongs on your roof. Some modern TPO systems, for example, do not require periodic coatings or UV treatments. Follow the instructions for the roofing material actually installed on your trailer.
6. Control Moisture Inside the RV Too
Not every moisture problem comes from a leaking roof.
Condensation can build up inside an RV, particularly during cold, damp weather. Warm interior air meeting cold surfaces can produce moisture around windows, walls, cabinets, mattresses, and other poorly ventilated areas.
Ventilation and air circulation help manage that moisture. During storage, periodically check inside cabinets, closets, under mattresses, and other areas where air doesn't circulate well. A dehumidifier or moisture absorber can also be helpful when appropriate for your storage situation.
If you notice a musty smell, discoloration, soft material, unexplained condensation in one area, or staining around a ceiling or wall, investigate it.
Don't assume it will dry out and go away.
7. Winterize Before Freezing Weather
Water intrusion isn't the only way water can damage an RV.
Water left in plumbing lines, fixtures, P-traps, the water heater, or other components can cause damage during freezing conditions. Proper winterization generally includes draining the water system and following the manufacturer's procedure for clearing or protecting the plumbing with RV-approved antifreeze or compressed air, depending on the RV.
The exact procedure varies between trailers, so follow the owner's manual for your unit rather than assuming every RV winterizes the same way.
8. Fix Small Problems While They're Still Small
This may be the most important point on the entire list.
If you discover a suspicious seal, a small roof puncture, a soft spot, staining, or actual moisture inside your RV, deal with it now.
Jayco specifically advises owners who find water inside an RV to locate the source immediately or have a dealer inspect it because continued leakage can lead to serious damage.
A little sealant maintenance is one thing.
Replacing rotted roof decking, repairing a delaminated wall, or rebuilding a soft floor is something entirely different.
9. Keep Records — They Help Protect Resale Value
Maintenance isn't only about keeping the RV usable today. It matters when you're ready to sell or consign it.
Keep receipts and make a simple record of:
- Roof inspections
- Roof resealing
- Exterior seal maintenance
- Bearing service
- Tire replacement
- Appliance repairs
- Winterization
- Battery replacement
- Major repairs or upgrades
Lippert's current RV maintenance guidance specifically recommends documented maintenance as a way to protect the RV and support its resale value.
When we're evaluating a used RV, there's a big difference between hearing "I think the roof has been maintained" and seeing a record showing when it was inspected and resealed.
A clean, dry, well-maintained RV with service history is simply easier to have confidence in.
A Simple Maintenance Schedule
You don't have to obsess over your trailer every weekend. Build a routine.
About every three months: Inspect the roof, roof penetrations, seams, and sealant.
Spring and fall: Do a full exterior inspection including windows, doors, moldings, slide-outs, sidewall penetrations, and storage compartments.
Several times per year: Clean the roof according to the roof manufacturer's instructions and inspect while you're cleaning.
Before and after storage: Check for water intrusion, condensation, plumbing leaks, damaged seals, and signs of pests.
Any time you find a problem: Address it promptly rather than waiting for your next scheduled service.
Your manufacturer's maintenance schedule always takes priority, but this routine will catch a lot of problems before they become expensive ones.
Not Sure What You're Looking At? We Can Help.
Some RV maintenance is easy to handle at home. Other times, knowing whether an old seal is still serviceable—or whether that suspicious soft spot is hiding a bigger problem—takes experience.
Coumbs RV Center has been serving Olympia and the South Puget Sound since 1972. Our service department handles rubber and metal roofs, exterior sealants, water intrusion, dry rot, slide-outs, plumbing, bearings, and everything from routine maintenance to major RV repairs.
If it's been a while since anyone has looked closely at your roof and exterior seals, now is a much better time than after the next rainstorm.
Protect the roof, keep the water out, stay ahead of the little repairs—and your RV will be in much better shape when it's time for the next adventure or the next owner.
Inquire about RV Service here: https://www.coumbsrv.com/pages/rv-service